Tuesday, December 23, 2014

Pregnancy Update: 8 Months

Here we are again, another month down!


At the end of month eight, little man is about 16 to 18 inches long and weighs around four-in-a-half to five-in-a-half pounds (like a honeydew). He's continuing to put on fat, about a half-a-pound each week, so he's nice and plump for his arrival - who doesn't love kissable, fat baby cheeks!?

I've been feeling Braxton Hicks contractions since I entered my third trimester, but they're starting to get more frequent and stronger. I hope I know the different between that and an actual contraction when the time comes!

I'm still feeling lots of jabs, kicks, and baby hiccups. His movements have become much more forceful - he's a strong little guy - but I'm trying to embrace them because I have a strong feeling that I'm really going to miss those crazy jabs after he's here.  Also since baby is getting bigger, I run out of breath quite often. Whether I just finished eating or spoke a long sentence, I feel like I just ran a marathon!

I think I totally jinxed myself with the "good nights sleep" bragging in my seven month update, because MAN have my nights been rough! I cannot for the life of me get comfortable, then once I do... mother nature calls. So, out of bed I go... struggling & grunting...


This should really say, "How I feel when trying to get outta bed every. single. time." to make it more accurate!
As the count-down gets shorter and shorter, I find myself getting more anxious and ready for baby's arrival! We've stocked up on a lot of necessities (super big thanks to everyone who was so very thoughtful and generous - we'd be lost without your help) and have a lot of organizing to do!

 
Even though I've been lacking in the sleep department, month 8 has been pretty darn great! Brandon and I celebrated our birthdays (yes, we share a birthday with each other... I know, we're weirdos).

The desserts are about the size of our heads... Don't judge us.
And *drum roll please* we have a new little one to share our birthday with! Brandon's sister, Brittany, welcomed her daughter, sweet little Ellie (our very first niece), on our birthday!! Talk about the most special birthday yet! Even though we are several hours apart, we are overfilled with love for this little bundle of joy and cannot wait to kiss on her in person. Welcome to the world, baby girl! :)

Isn't Ellie (and mommy) the cutest!?


Thursday, December 11, 2014

Friday Favorites: Make-up Edition

I am no where near an expert (nor do I really know what I'm doing half the time) when it comes to make-up, but I do enjoy getting gussied up! I also love following beauty blogs and learning different tips & tricks to applying flawless make-up and new looks.

So, on that disclaimer note, I thought it'd be fun to share some of my favorite make-up picks!

I used to be a HUGE foundation girl, like wouldn't-leave-the-house-without-my-face-covered-in-foundation type of girl... that was until I realized that the foundation I used wasn't necessarily good for my skin. In other words, it was causing break-outs all the time. I did a little research and found that applying a tinted moisturizer in lieu of foundation gives you coverage, but isn't overkill, and as an added bonus, it provides SPF 30! Ever since then, I have never looked back! I actually prefer the brighter, more natural look tinted moisturizer gives verses foundation. My go to tinted moisturizer is Aveeno Positively Radiant Tinted Moisturizer (in medium). Now, if I do have a blemish that needs extra coverage, my go-to concealer is Benefit Fakeup.
 
http://www.ulta.com/ulta/browse/productDetail.jsp?productId=xlsImpprod2450061#
 
Being eight months pregnant and barely getting sleep, I need a great under eye concealer/brightener. I pair Maybelline Instant Age Rewind Eraser Dark Circles Concealer + Treatment (in medium) with Maybelline Fit Me Shine Free Foundation Stick (in classic ivory). I use the Instant Age Rewind Eraser right underneath my eyes and use the Foundation Stick underneath that (mid-to-high cheekbone working way towards nose) for some brightness. I blend that in with a blender sponge and wallah!
 
 
I love playing around with different eyeshadow pallets. Right now, and for the past year, my favorite pallet has been Urban Decay Naked2. Now this brand you cannot pick-up at your local drug/grocery store and does cost a pretty penny ($54.00 at Ulta), but trust me when I say this pallet is wonderful! It comes with a variety of shades (I'm a gold/brown tones kind of gal, so I prefer the Naked2 pallet over the Naked3 pallet - it just works best with my complexion) and a really great blending brush. Before applying my eyeshadow, I dab a little bit of the Urban Decay Eyeshadow Primer Potion on my eyes, which helps make my eyeshadow last throughout the day.


I'm not afraid to admit that I love me some blush!! Right now I'm loving Revlon Cream Blush in Charmed Enchantment and Lancome Blush Subtil in Aplum paired together, then topped with a bit of light reflecting highlight, which I just dab at the top of my cheekbones for some shimmer.


I love, love, LOVE Maybelline Falsies Mascara!!! I've tried a couple of different mascaras from The Falsies line, but my favorite is the Volume Express Falsies Flared - this gives big, dramatic lashes every time!  However, I do find that it works best when wet, so when I notice it start to dry out a bit I add a few drips of eye drops into the mascara tube, which makes the product seem brand new.


As mentioned above, I don't consider myself a make-up snob by any means and I try not to spend a ton of money on products. Most of the products I use can be found at your local drug/grocery store for a couple bucks. 

I hope you enjoyed my little post about my make-up favorites -- what are you make-up must haves?

Monday, December 8, 2014

Baby Shower


I had my baby shower over the weekend and wanted to share some pictures. It was a 'Winter Wonderland' / 'Baby it's Cold Outside' theme - complete with a Hot Chocolate Bar - and was the most adorable shower I've ever seen!

I am beyond thankful for the amazing ladies who put this together for me - I really can't thank you enough for the love and time put into this - and the sweetest family & friends who were able to make it out, I felt (and still feel) so very special.


All we need now is this baby! 45-days to go :)

Saturday, December 6, 2014

Rockin' Around The Christmas Tree

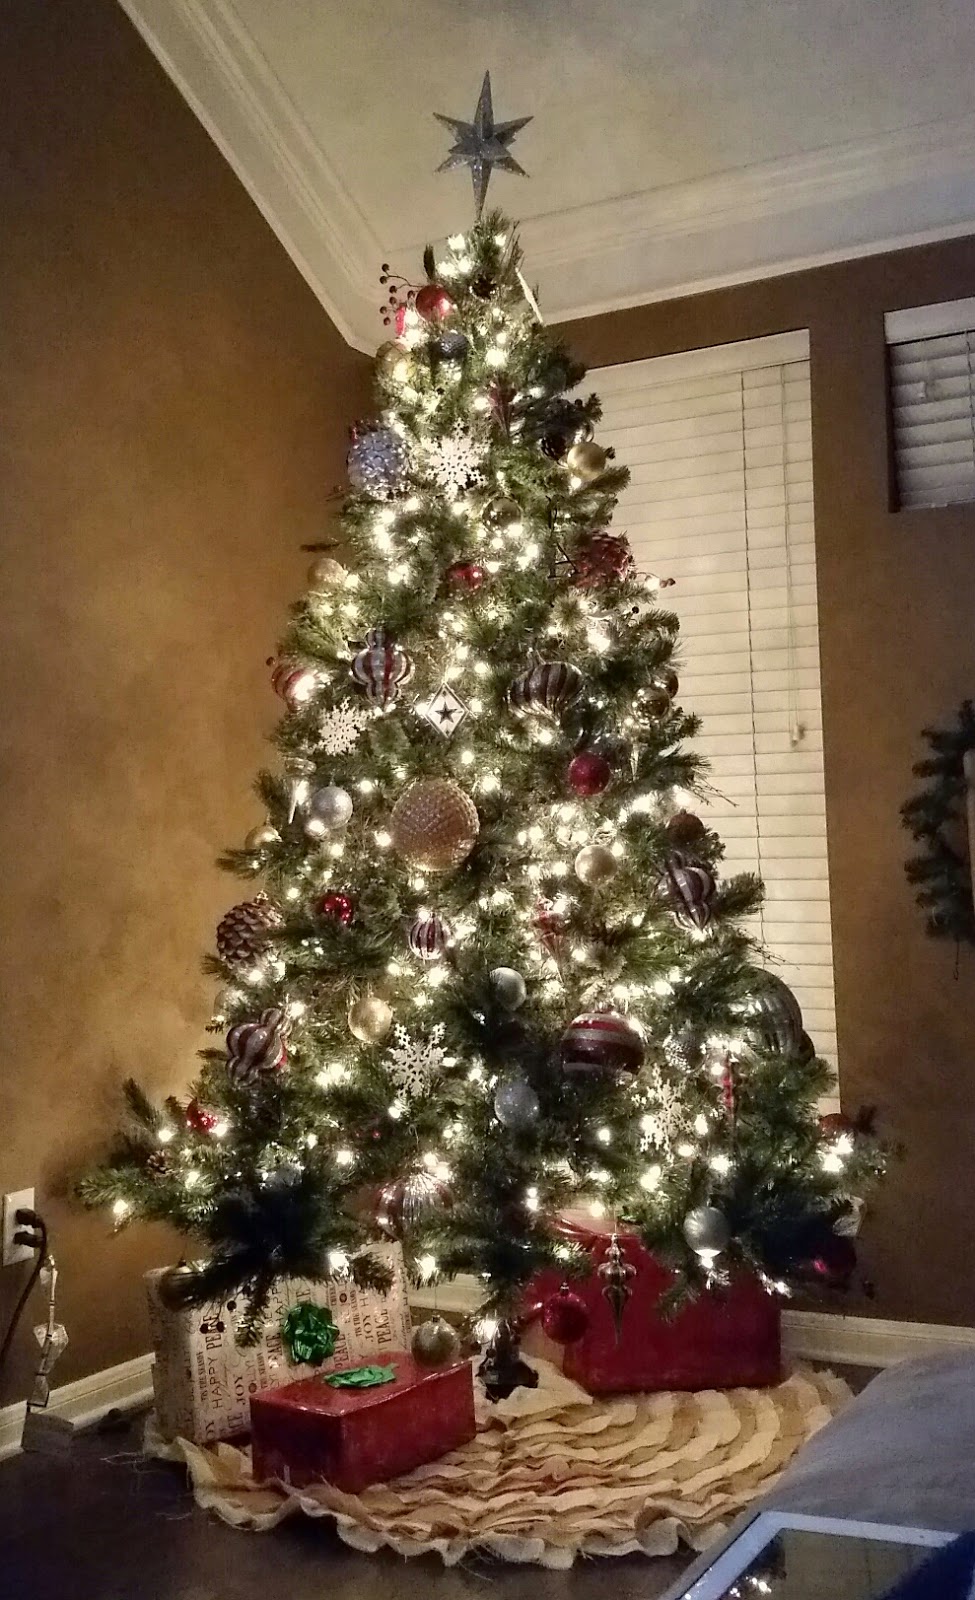
It's Christmas-time in the Atkinson household!!

Tree? Check.


Fireplace + mantle decorations? Check.


Christmas-y chalkboard? Check.


Christmas tunes? Check.

Ignore the pumpkins - I still need to put those away ;)

Christmas lights? Check (thanks, Brandon!!).


It's crazy to think that this will be mine and Brandon's last Christmas as just the two of us! Next year we'll have a little, almost-one-year-old scootin' around.

Hint: One's a giant ornament and the other is a baby. :)


Monday, December 1, 2014

No Sew Tree Skirt

I'm sure you have seen the ruffle burlap no-sew tree skirt tutorials all over Pinterest, as they've been quiet the rage the past few years. I love easy (cheap) projects, especially ones that will make a big impact once finished. So, two years ago I decided to make one to go under our Christmas tree!

What you'll need:
Hot glue gun & glue sticks
Scissors
About 4 yards of fabric of your choice (I used burlap)
Old Christmas tree skirt
Bottle of wine to polish off after the project is complete (trust me, you'll want to)

I used about 2 yards in the original tan burlap color and another 2 yards in the lighter cream burlap color, which I purchased from Hobby Lobby. I picked up a tree skirt from the Dollar Store because we didn't have one laying around. Since the tree skirt I picked-up from the Dollar Store had felt pieces on it, I just flipped it over and used the plain side.

You'll want to cut your fabric into strips - the size doesn't necessarily matter, but you want it to be consistent. Also, the larger the strips, the more space you'll cover... In other words, the shorter amount of time you'll spend gluing them to your tree skirt - totally up to you! I think I did about 2 inch strips.

Cut until you have a pile of fabric strips - this is probably the most tedious part of the project, so make sure something good is on TV!

Make your first line of glue, starting at the edge of the tree skirt (you're working your way in). Place your fabric on top of the glue line. To make a ruffle, pinch a portion of the fabric between your fingers and press it down, overlapping the previous ruffle. Then, keep going, adding more fabric as needed, until you have completed your first row.

To start your second row, and the other rows to follow, start your glue line a few inches above your glued on fabric and make your ruffles like you did in the first row. Keep making ruffles until you've reached the center of the tree skirt.

I wish I had more pictures of when I was making the skirt, but this is the best I have!
This project took me a couple hours to complete (plus a million glue sticks and some burnt finger tips), including breaks in between, but I just love how the ruffled skirt looks under our Christmas tree! You'll most likely feel exhausted and have a love/hate relationship with burlap afterwards, which is why I suggest a bottle glass of wine to help relax & unwind - you deserve it. ;)

Christmas, 2013
As a bonus, and since Christmas month is officially upon us, here are some pictures from the past two years of our sweet boxers (excuse their mug-shot-like facial expressions) in front of the Christmas tree, it's tradition :) - you can even see the tree skirt in the background.
Brie & Tyson, 2012

Tyson & Brie as reindeer, 2013
Aren't they just the cutest?! And what good troopers putting up with my ridiculous photo ideas... :)

Let me know if you decide to make a ruffled tree skirt, I'd love to see your finished masterpiece!